
Moving WordPress site to a new domain can be crucial. You can end up doing it wrong, lose your SEO rankings, or lose your data. There is too much risk involved. This must be done with utter caution. Therefore, today we brought you a step by step tutorial guide with pictures to how to move WordPress site to new domain, that too with minimum SEO fluctuations.
How To Move WordPress Site To New Domain
Before starting the moving process, it is very important to understand that it can have a temporary impact on your SEO ranking and other marketing aspects. However, setting up the 301 redirects correctly can minimize those impacts. I assume you already have a web hosting account, database, and you are familiar with the use of FTP.
Methods to Move WordPress Site To New Domain
There are mainly two ways to do it, these are:
- Using Duplicator Plugin
- Manually
1. Using plugin: How To Move WordPress Site To New Domain
Using Duplicator Plugin can speed up the process of making backup of your website and moving to new domain. It is available for free and makes the process of migration easy. Follow these steps to move your WordPress site to a new domain using the Duplicator plugin.
Step1: Creating backup using Duplicator
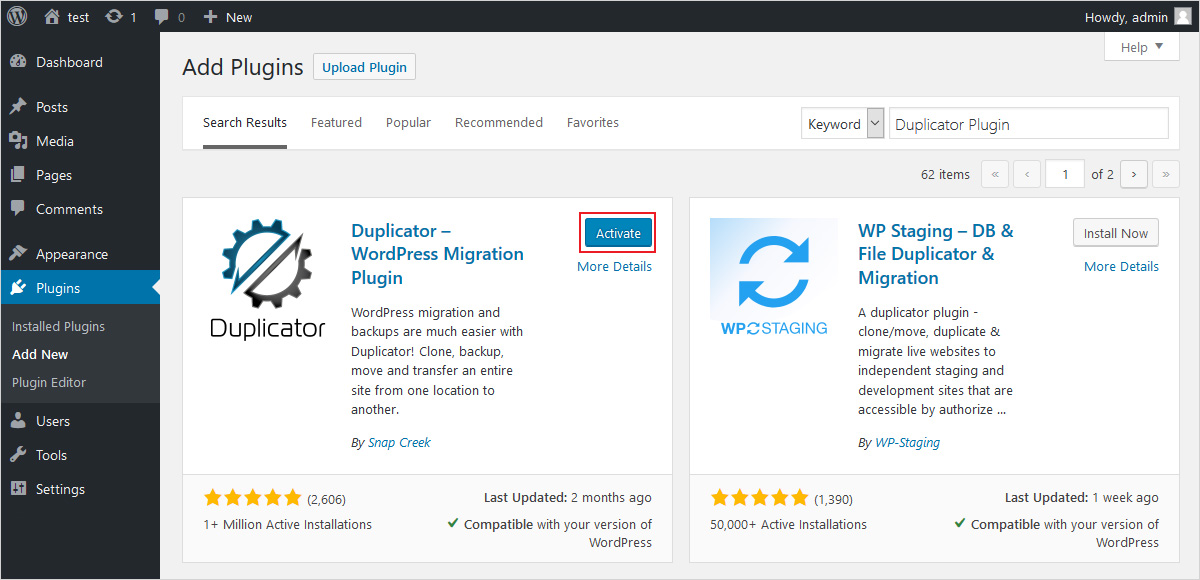
Go to your WordPress Dashboard, locate Plugins> Add New. Search for WordPress Duplicator Plugin in the search bar. Click on the Install now button and activate it. It will install the Duplicator plugin and activate it on your WordPress site.
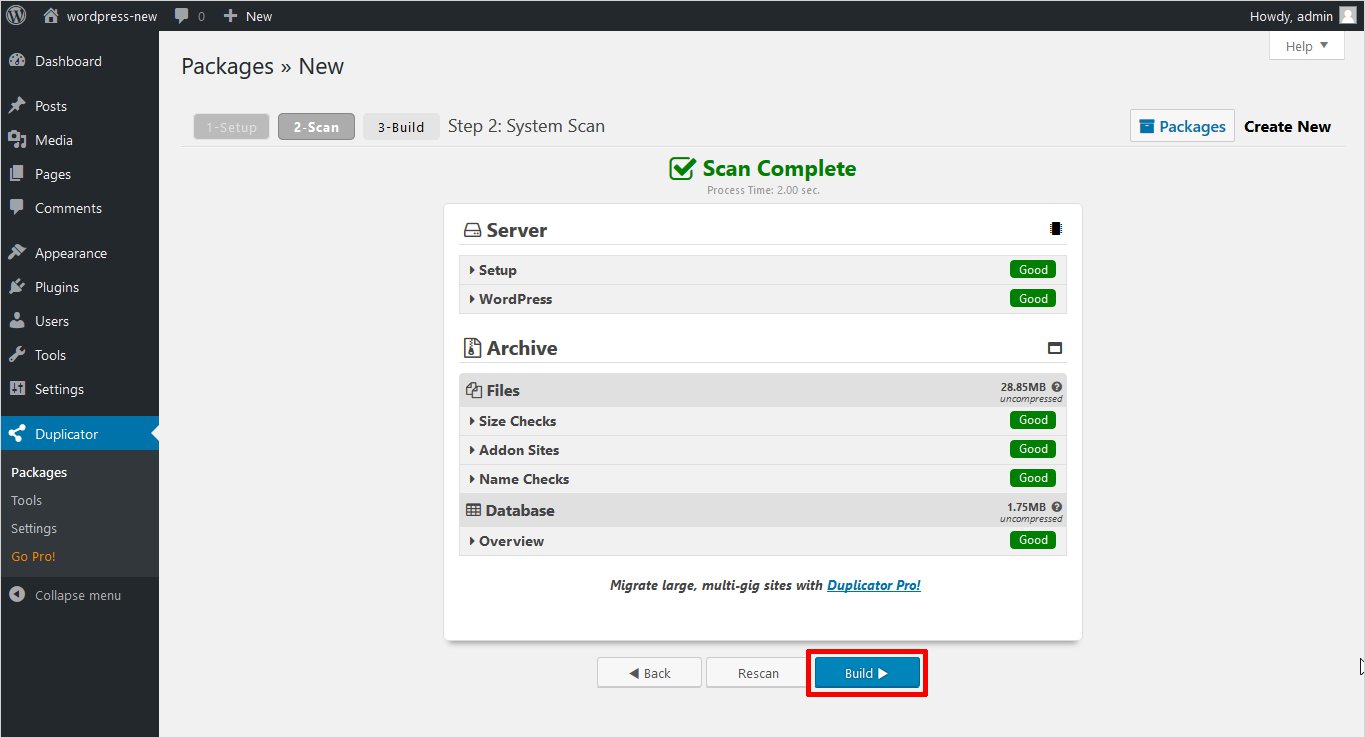
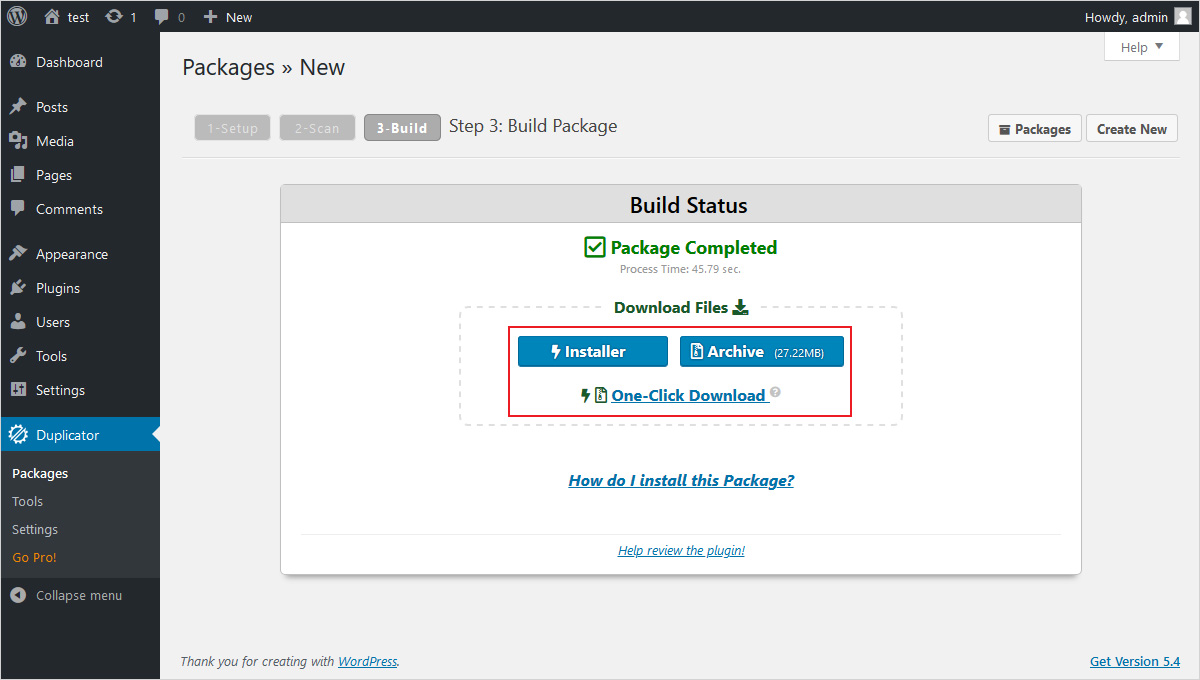
Now export your WordPress site using the Duplicator plugin. Go to the Duplicator menu located on the left side of your WordPress Dashboard. Navigate to Packages and click on the Create New button to build a new package. Then click on the Next button to start setting up. Then click on the Build button to scan. After the setup process is completed, you will receive two files: Installer and Archive, download both of the files on your local machine.
Step2: Creating database on the new Domain
Create a new database on your new domain’s hosting panel.
Step 3: Unzip your WordPress on your new domain
Then, upload the Duplicator files to your new domain. For that, you need to connect to your domain name using an FTP client and make sure your website’s root directory is empty. Then, upload the archive and installer file you stored earlier to the root directory. Wait for both of the files to finish uploading. Now, open a new tab and enter this URL to launch the Duplicator migration wizard: http://example.com/installer.php (here replace example.com with your new domain name).
- Check the terms and conditions and click on the Next button.
- Enter your WordPress database information in the installer.
- Enter the details of your existing database and click on the Next button to continue.
- Now, the duplicator will start unpacking your WordPress database backup from your zipped files into your new database.
- Now, it will ask for the updated site URL. usually it detects automatically, but in case it doesn;t, you can also enter it manually and then click on the Next button to continue.
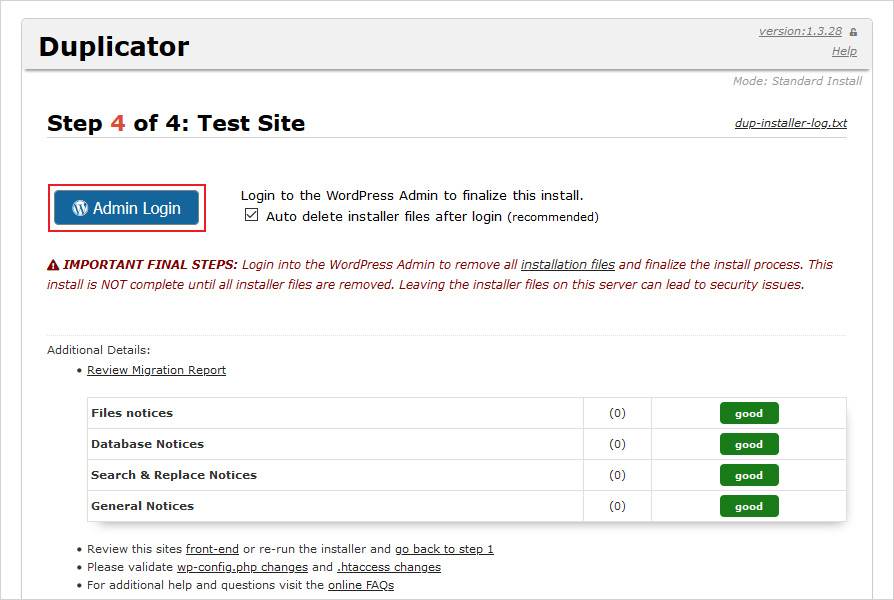
- Duplicator will now finish the migration. Click on the ‘Admin Login’ button to go to the admin panel of your WordPress site on the new domain.
Step 4: Fixing 301 redirects
Now fix your 301 redirects for better SEO and user experience. Connect your old site using FTP and edit the .htaccess file to automatically redirect users and search engines to your new domain name. Go to your root directory and open .htaccess file to paste the following given code:
#Options +FollowSymLinks
RewriteEngine on
RewriteRule ^(.*)$ http://www.newsite.com/$1 [R=301,L]
Note: Insert your new domain name in place of newsite.com
Step 5: Informing Google about your new domain
Now, inform Google about the changes you made. Add your domain name to the google Search Console. Then, switch to the old version of Google search console by clicking on Go to the old version menu. After that, click on Settings icon, you will see a list, click on Change of Address. On the next screen, click on the check button to test if 301 redirects are working properly and confirm verification. Lastly, click on the Submit button to send your address change request.
Step 6: Informing your visitors/subscribers
Lastly make a public announcement about your migration. You can do it by sending a newsletter to your subscribers or publishing a Press Release. By doing so, you can also ask your users to let you know if they are facing any issues or bugs and you can solve it immediately. You can try SendInBlue or Constant Contact for the newsletter.
2. Manual Method: How To Move WordPress Site To New Domain
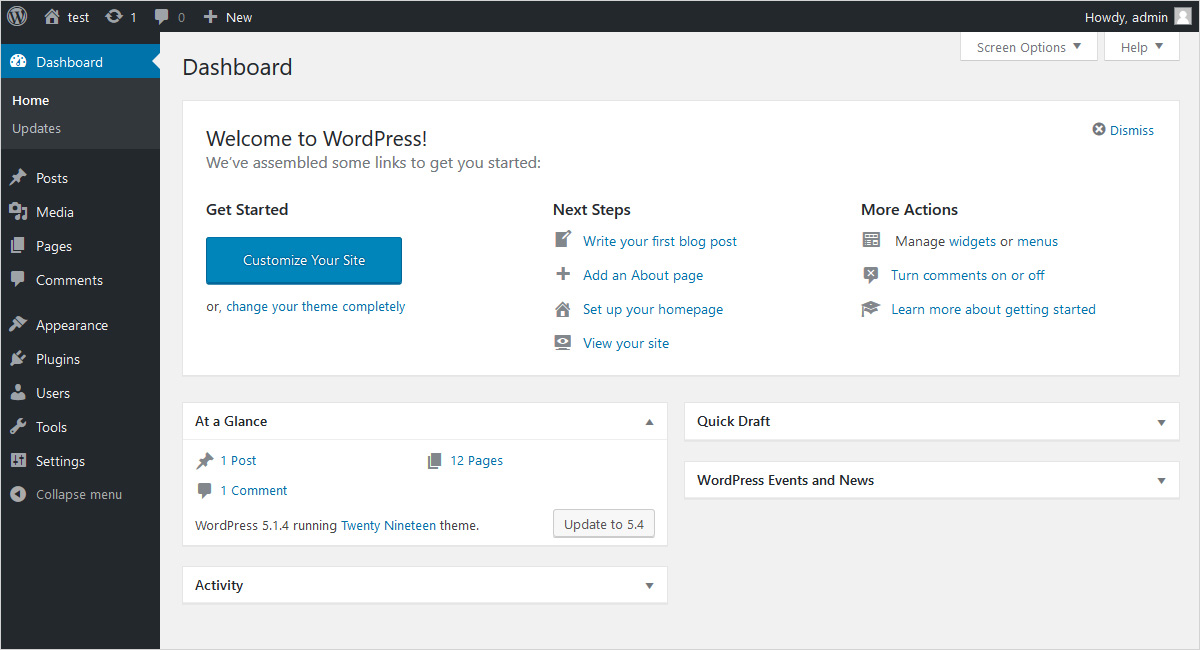
Step 1: Verify your working site
Open your WordPress site to see if it’s working properly.
Step 2: Download your WordPress files
Now download your website files to create a backup of both your website files and your database. Download and save your website files on a local machine and also save a copy of the files in a separate folder for sake of safe backup.
- Open your existing control panel and click File manager
- Then select all to save all the files
- Now download all the files on your local computer in zipped format.

Step 3: Make backup of your My SQL Database
Now, export your database with phpMyAdmin and make a copy of the exported sql-file in a different folder on your local machine as a backup.
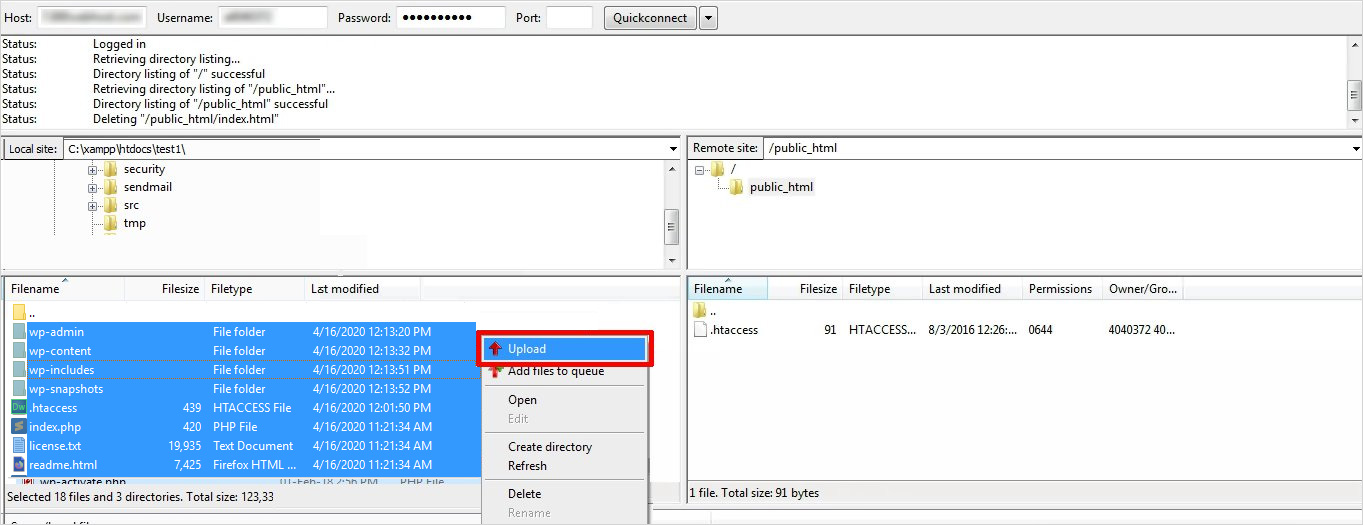
Step 4: Upload your WordPress files on your new domain
After that, log in via FTP and upload your backup to the web space of your new domain. Unzip your backup after uploading it.
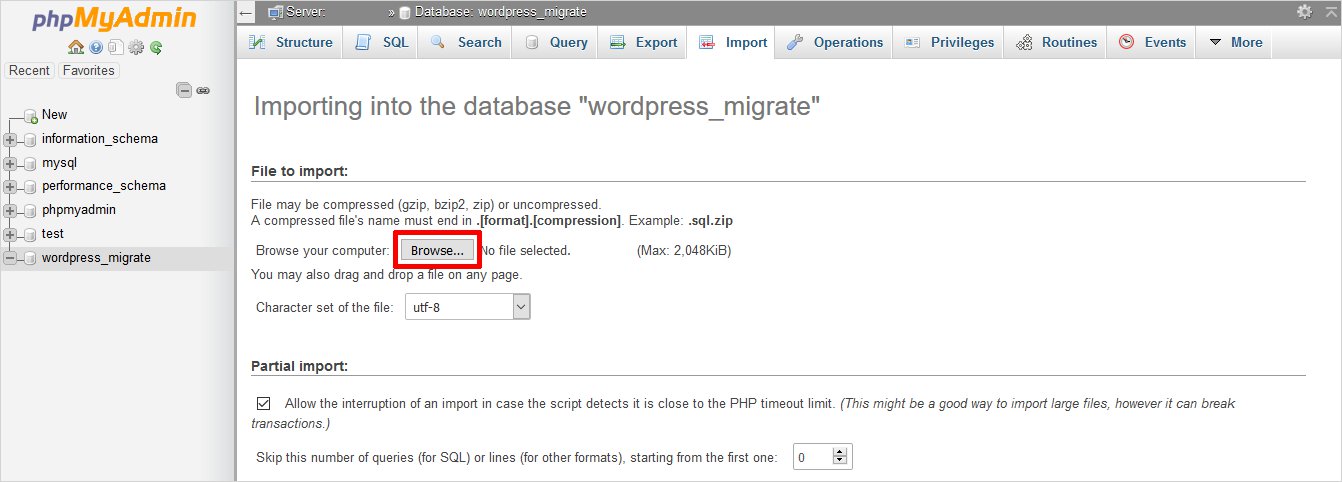
Step 5: Import your database
Now, import the .sql file of your database to phpMyAdmin.
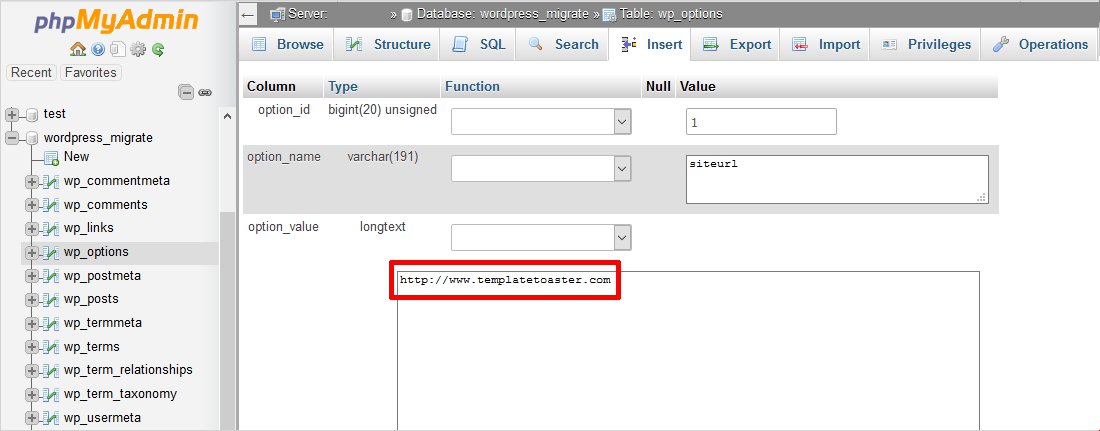
Step 6: Go to wp-options
Once you successfully import your database, navigate to the table named wp-options in the menu to the left.
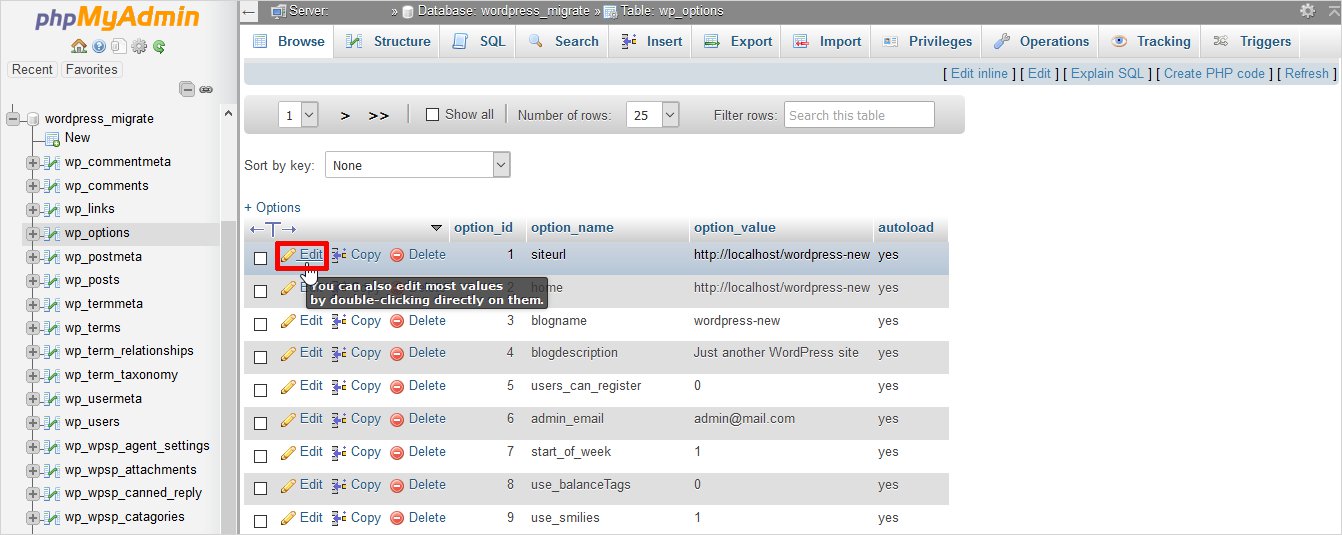
Step 7: Set up siteurl and home
Now you need to update the location of your site in the database. Follow the given instructions:
- Navigate to siteurl and home in wp_options, you might find these records at the top of the table on line 1 and 2.
- Click the field under option_value and replace your old domain name with the new one for siteurl.
- Press enter to save and repeat for home.
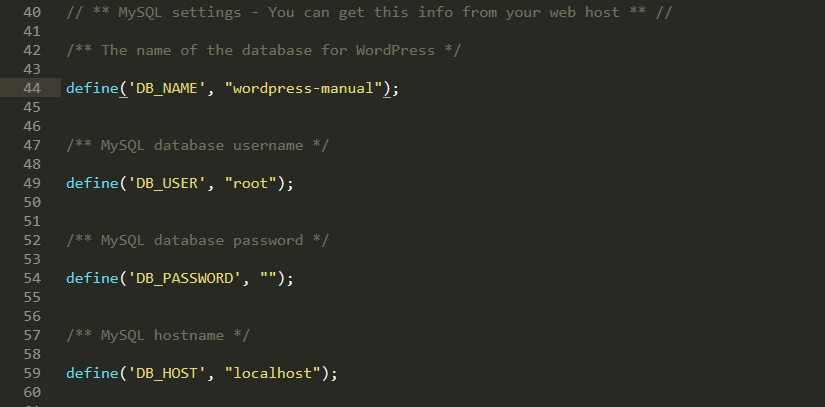
Step 8: Set up connection details in wp-config
Next, replace the login details from your old domain to your new domain in WordPress by updating connection details as given in wp-config.
Current details would look something like this:
define('DB_NAME', 'one_example_support');
define('DB_USER', 'one_example_support');
define('DB_PASSWORD', '********');
define('DB_HOST', 'one-example.support.mysql.service.one.com');
Change the details like this and click on Save in the upper left corner on your screen.
define('DB_NAME', 'update_here');
define('DB_USER', 'update_here');
define('DB_PASSWORD', update_here');
define('DB_HOST', 'update_here');
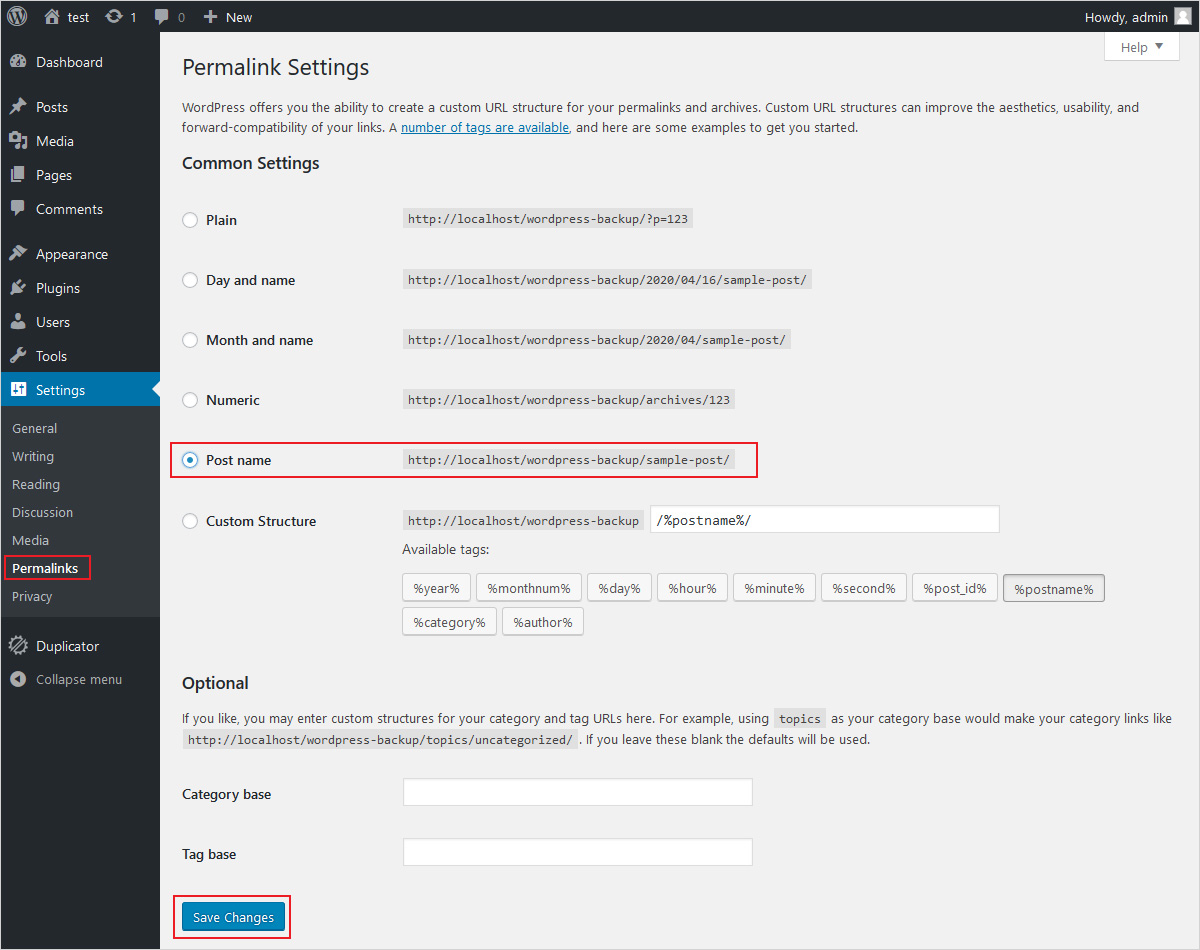
Step 9: Fix Permalinks
If you encounter any 404 error, it means your permalinks are broken. Follow these easy steps to fix this problem:
- Log into your WordPress Dashboard.
- Go to Permalinks under the Settings
- Make the required changes and click on the Save button.
Step 10: Set up 301 redirects
Take care of your site’s SEO by setting up permanent 301 redirects. To set up a permanent 301 redirect, connect to your old site using FTP and edit the .htaccess file in your root directory. You will find this file in the same directory as your wp-includes or wp-admin folders. After opening .htaccess file, paste the following given code at the very top:
RewriteEngine on
RewriteRule ^(.*)$ http://www.newsite.com/$1 [R=301,L]
#Important note: Enter your new domain instead of newsite.com in the above code
After applying these changes correctly, your site will automatically be redirected to the new site. In case it doesn’t, it means the redirection is not set up properly. In that case, you need to reach out to your web hosting support to get RewriteEngine turned on.
Step 11: Check your site on new domain
Now, check your site on your new domain. If everything is working as originally intended, then you have successfully moved your site to the new domain. However, you still need to make some manual fixes.